Learning full-stack development can feel overwhelming. With the vast amount of resources available, all claiming to be the best way to become a pro, It’s easy to get stuck in indecision and end up only learning half of a subject without truly understanding how to build an app from scratch.
To solve this problem, I’ve created a roadmap that helps you cut through the noise and focus on the fundamentals necessary to start building your own amazing websites, platforms, and apps. Having taught full-stack development to over 500 students at all levels and with experience building projects used by hundreds of thousands of people, I can confidently say that these courses, along with your own practice, will turn you into a strong engineer. You can find all the materials, including a full set of readings, homework, and projects, for the official UC Berkeley full-stack development course I created at fullstackdecal.com. I’ll also link the relevant readings from this course at every section in this post to provide further resources to understand the technical concepts and frameworks we cover.
If you’re at the start of your programming journey, I highly recommend you read through the introductory reading for the Full Stack DeCal. It covers the 10,000-foot view of the journey, along with helpful tips for first-time programmers, motivation, and more. Development is an activity with high highs and low lows, and being aware of that, along with knowing the resources to tackle these swings, is invaluable.
This guide is meant to be friendly to those with little to no programming experience, but is still suited for developers looking to learn new fundamental skills in frontend/backend development.
In this guide, we’ll cover courses that teach you the following skills.
Frontend Development: HTML/CSS, JavaScript, React.js
Backend Development: Node.js, APIs, Networking, Servers, Nginx
DevOps: Amazon Web Services, Git
Additionally, I’ll reference additional courses and resources that cover the following at the end of the post.
Frontend Development: React Native, Typescript, Electron, Gatsby, Webpack
Backend Development: MongoDB, Express, Python Frameworks
Alright, let’s get started!
TLDR;
If you want to skip the words and dive straight into the courses I recommend, check out this infographic I put together that summarizes the core information in this post. If you want more detail on the steps and recommendations I have for learning full-stack development beyond just the roadmap, however, read on.
Setup
Many of these courses are taught by Frontend Masters, an educational platform with dozens of high-quality courses encompassing frontend, backend, and DevOps. If you’re a student, you can get 6 months free by using the GitHub Student Developer Pack, a collection of free CS resources for students offered by GitHub. Even if you don’t end up using Frontend Masters, the pack includes amazing resources for students, such as GitHub Pro, Azure, and Heroku credits, and 3 weeks of access to Interview Cake. Even without the pack, you can access most of the courses in this roadmap for free, so no worries if you’re not a student!
One crucial step before starting is creating a GitHub Account. GitHub allows you to store and share your code with an easy-to-use web interface. GitHub also allows developers to share their work and collaborate. When working through the courses and projects below, make sure to keep all your work on GitHub. In this way, GitHub can help serve as a portfolio for yourself and for others to see the work you’ve done.
First Steps
Let’s start with an overview of frontend development, putting into perspective some of the buzzwords you might have seen before.
The core technologies of front-end development are HTML, CSS, and JavaScript. HTML and CSS are used to create the actual look of a website. Think of the structure, color, and words on a website - these all come from HTML and CSS. Most informational websites you see on the internet require just HTML/CSS to make. Next is JavaScript. You can think of JavaScript (JS) as the logic behind a website. Let’s use Amazon as an example. Everything you see and interact with when browsing for an item is just data you see, and doesn’t have any logic behind it. This is all just HTML and CSS. When you go to buy something, however, we are using payment logic, and this is where JavaScript comes in. Another example is when you are searching for a specific item on Amazon. When you hit the search button, we use JavaScript to decide what items to show you.
In frontend development, everything compiles down to these three things: HTML, CSS, and JS. If you’ve heard of React or Node, these are just frameworks built on top of JavaScript and use HTML/CSS to work under the hood. Most frameworks and tools you’ve heard of are just some way to work with HTML/CSS/JS that make your life easier or make these tools more powerful.
Our First Stop: Complete Intro to Web Development
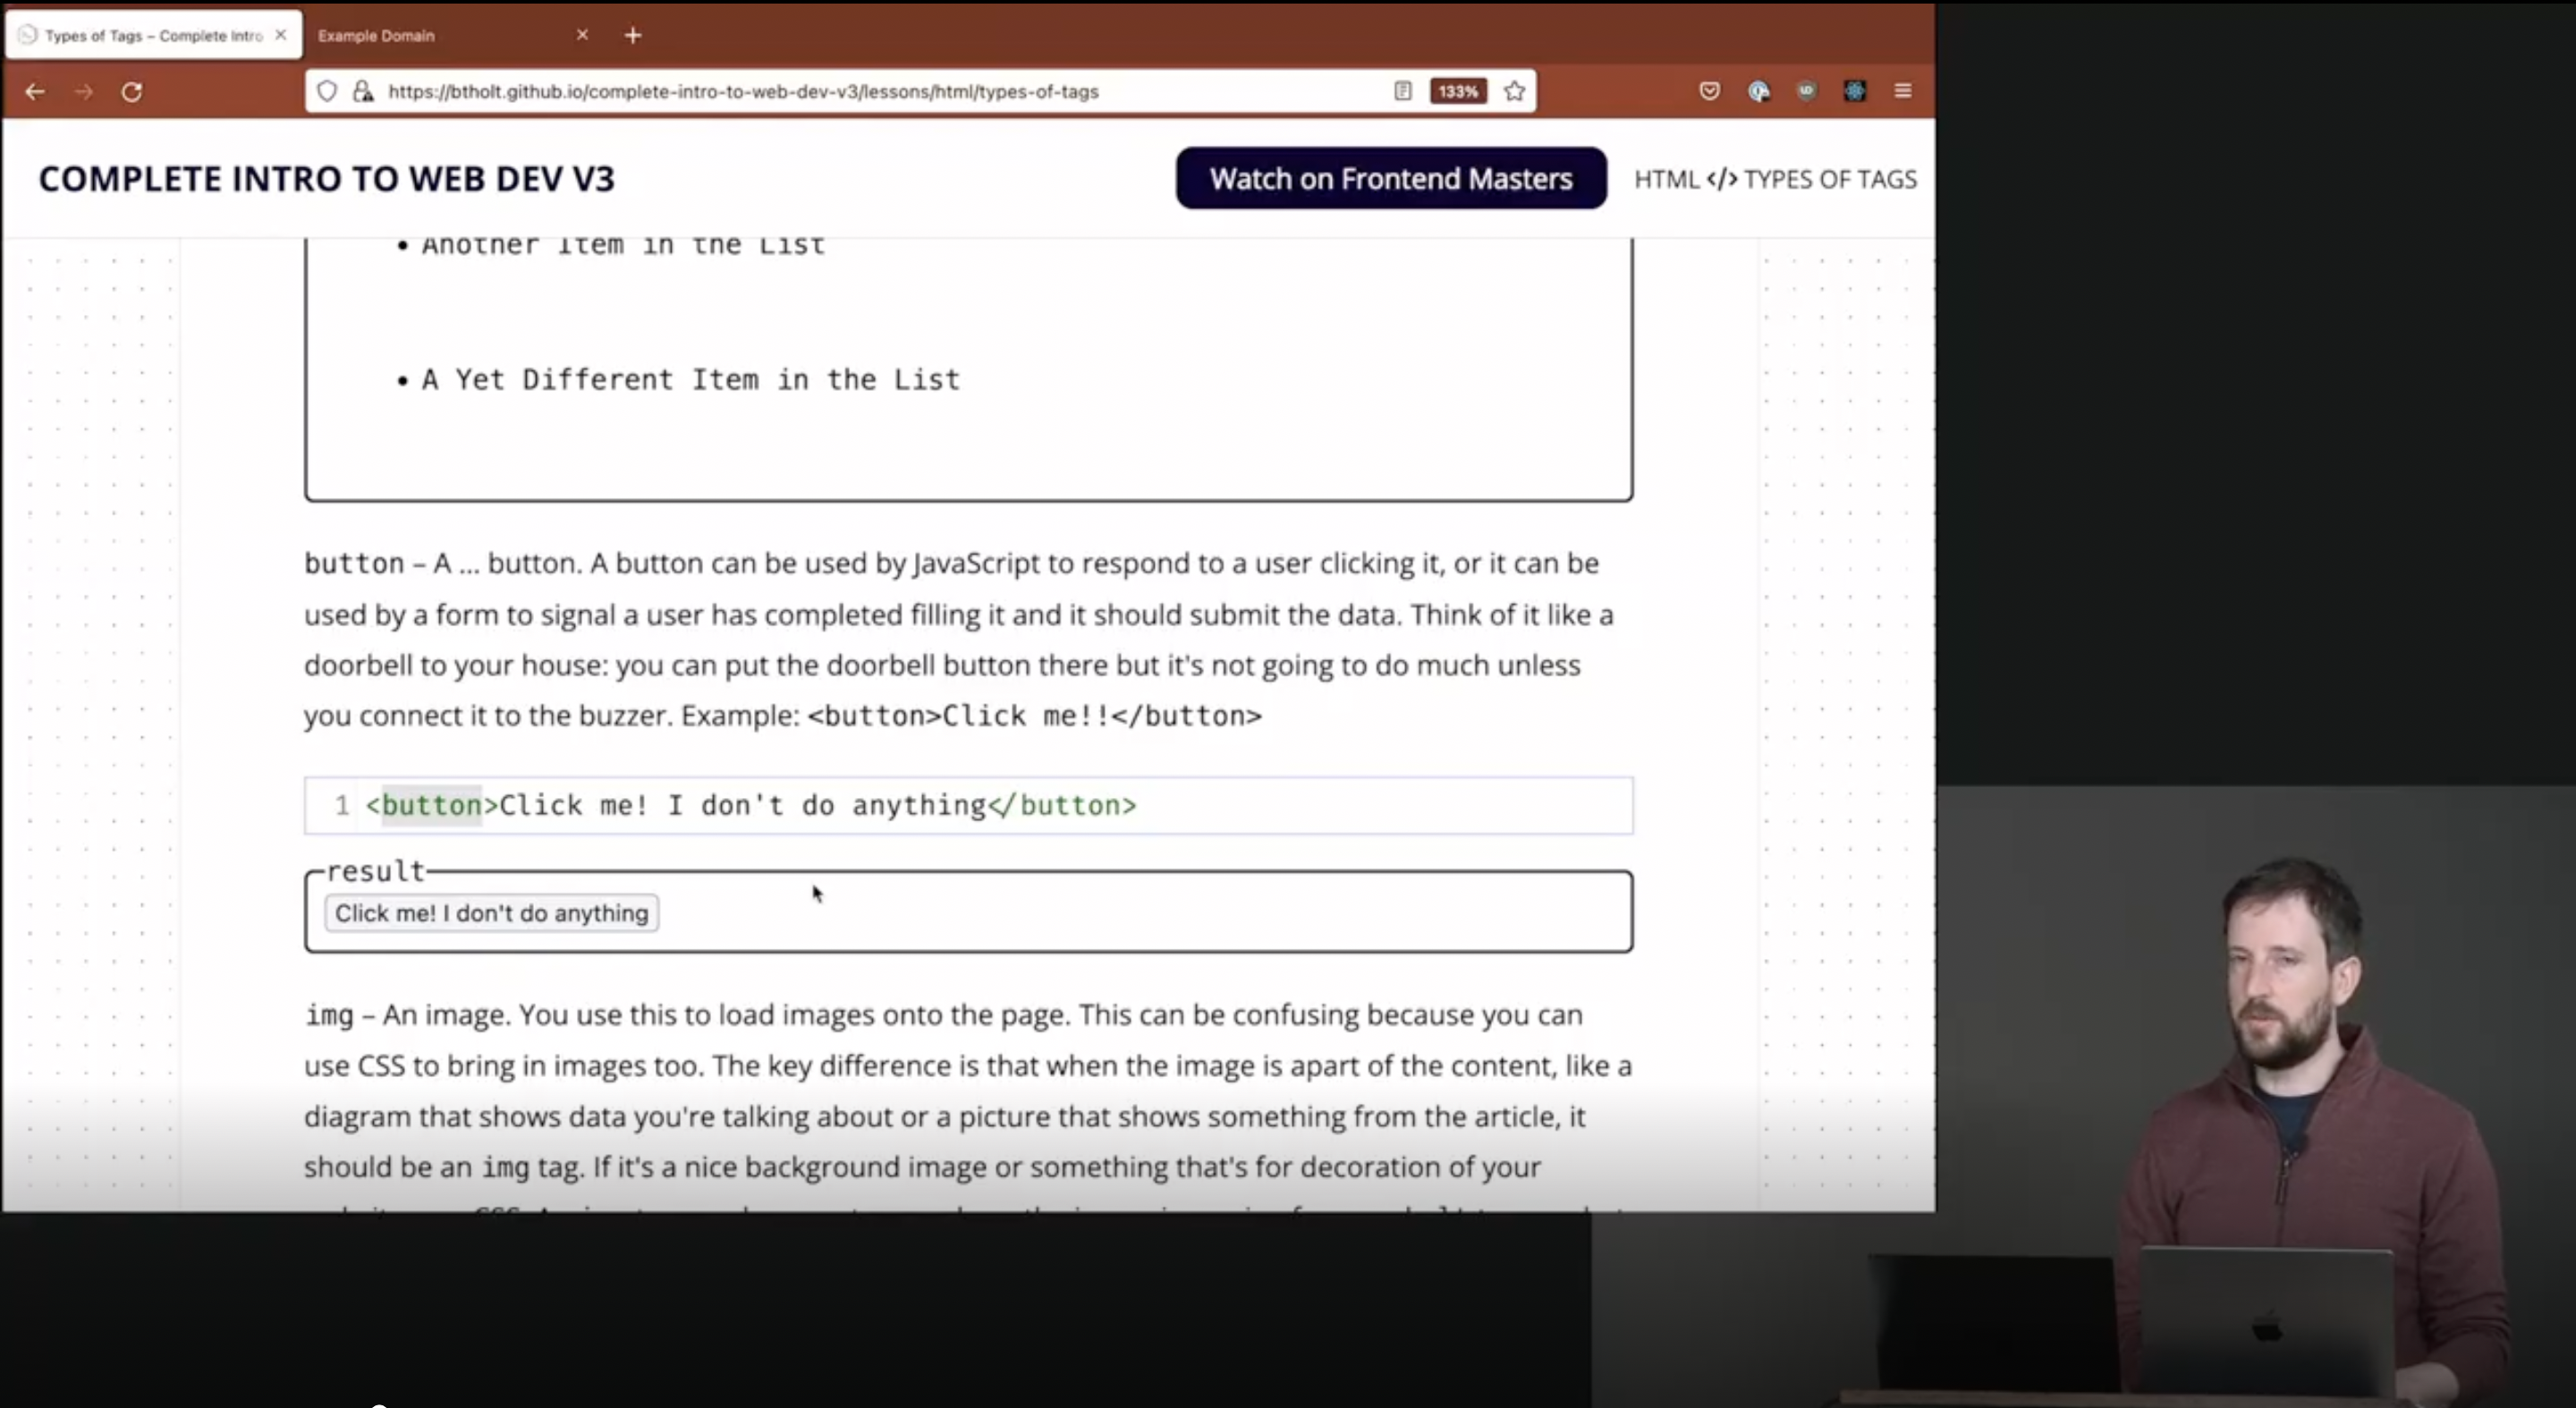
Given that most of web and frontend development boils down to HTML, CSS, and JavaScript, this is where we’re going to get started. Complete Intro to Web Development, v3 is the best course for frontend beginners, covering these three core topics from a fundamental perspective, and is comprehensive enough even for those who’ve never coded before to follow along with. This course is a must for anyone who wouldn’t consider themselves as having an at least intermediate knowledge of HTML/CSS/JS, as it’s easy to “know” these tools without actually being able to use them effectively.
Relevant Full-Stack DeCal Readings:
- HTML
- Introduction to CSS
- Advanced CSS
- JavaScript 1: Basic JavaScript
- JavaScript 1: DOM
- JavaScript 1: Scope and Asynchronous JS
Step Two: Understanding the Internet
Now that we’ve gotten a solid understanding of how to build a website, let’s turn our attention to how information, including our HTML, CSS, and JavaScript files, actually gets sent and used over the internet. This short playlist by code.org does a great job of explaining the fundamental concepts in networking through understandable analogies and without getting too technical. While it may be unclear how networking concepts relate to full-stack development, I believe that an understanding of the internet helps deepen one’s ability to use and reason about other full-stack topics that we’ll touch upon later, such as servers and databases.
Relevant Full-Stack DeCal Readings:
Stopping Point: Your First Project(s)
One key aspect of becoming a full-stack developer is the importance of personal projects. It’s easy to go through the process of learning how to program without actually being able to create anything of value. To avoid this, it’s essential to put your skills to the test by building projects using what you’ve learned so far. This will not only give you practical experience but will also make learning frameworks like Node and React more meaningful and valuable in the future.
Before moving on to advanced topics like backend development and DevOps, it’s important to practice and strengthen your foundation in HTML, CSS, and JavaScript. I recommend working through 2 types of projects here:
Project 1: Static Website
One way to start building your portfolio as a full-stack developer is to create a static website. A static website does not have any logic behind it and is simply for informational purposes. This project will give you practice with HTML and CSS and can serve as your first project in your full-stack development portfolio. There are two options for this project. One is to work with an organization you are affiliated with to build an informational website for them. Alternatively, you can build a portfolio website for yourself to showcase your current (and future) work! Real-world development experience is often more valuable and informative than any course, and this project can provide that type of experience by presenting unexpected challenges.
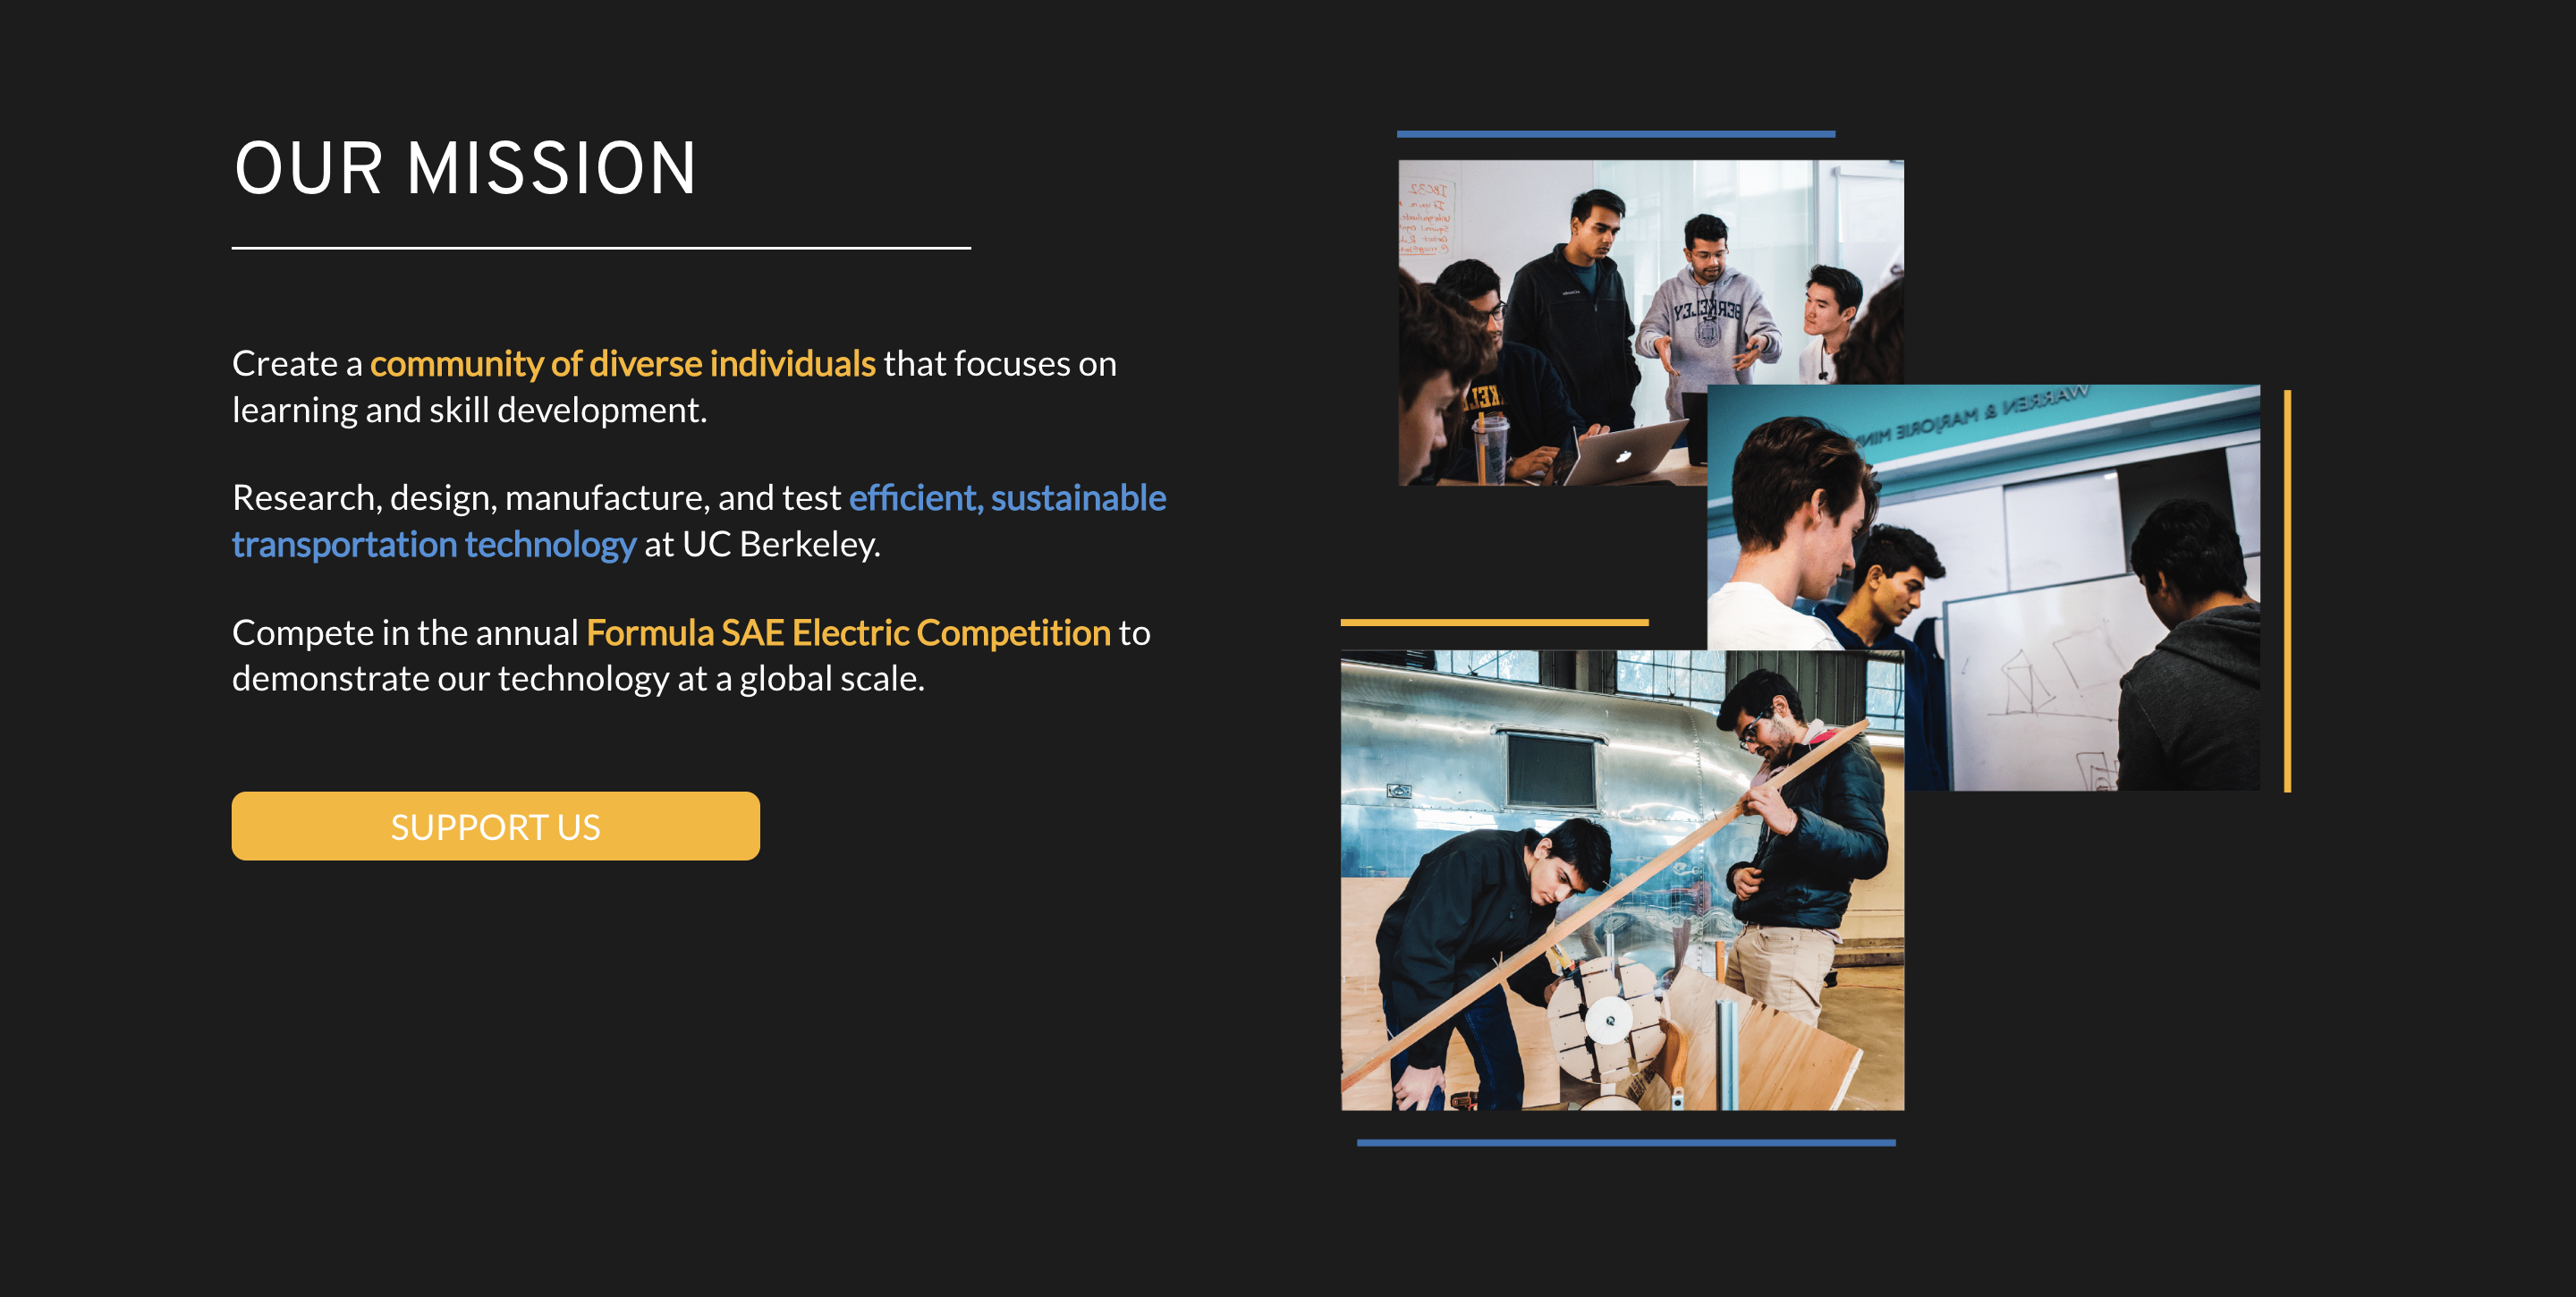
An example of the former is the Formula Electric at Berkeley Website, which is where the image above is from. This was my first real-world development project and served as an amazing springboard towards getting more projects. Throughout the website’s development, I encountered many challenges that hadn’t been mentioned in the earlier courses, further marking real-world development experience as a must-have for anyone looking to build anything useful with their knowledge.
For the second option, try making something fun! A personal website is your presence on the web, so try to add your personality to it! In general, you want to have a front page, an about section, a page for your projects, and then any other sections/content you may want, such as a blog or a photography showcase. The sky is the limit, be creative!
For design inspiration, I would recommend checking out Figma Community You can look through the mockups that Figma users have published, and clone them to help you design your project. You can also use new generative AI tools like midjourney for asset generation if needed. If you get stuck, I would recommend using one of the templates on Figma and repurposing it for your own use.
Lastly, for hosting, I would recommend using GitHub Pages. GitHub has a good quickstart guide on deploying to GitHub pages. You’ll need a GitHub account for this step, but it’s free, so create an account if you don’t already have one. In general, I recommend storing all your projects in GitHub repositories.
Project 2: JavaScript Calculator
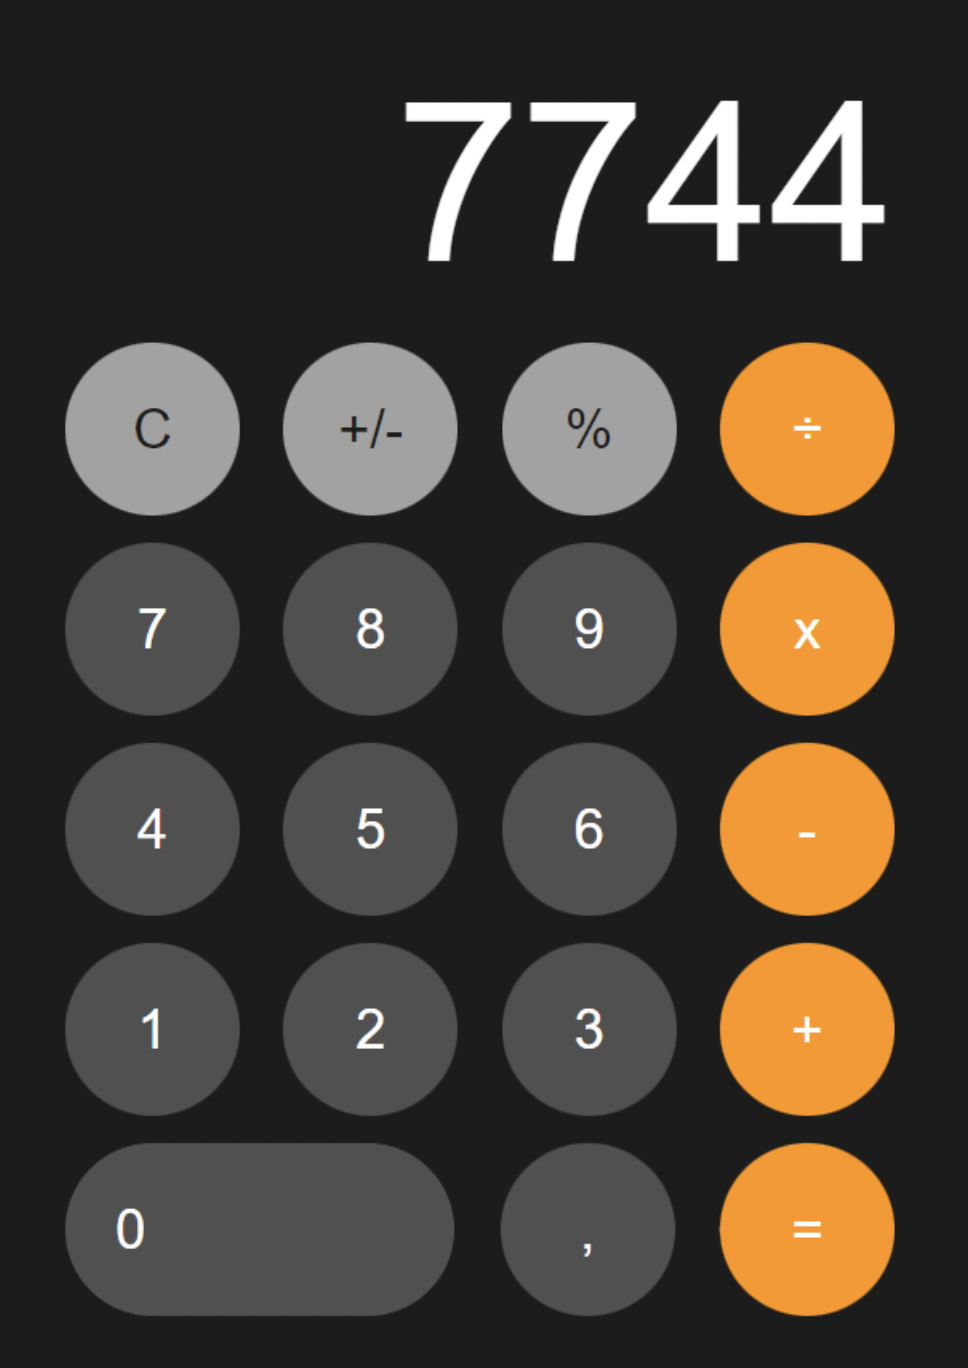
an IOS-style Vanilla JavaScript Calculator
If you already completed Complete Intro to Web Development, v3, you should have already built a calculator app in JavaScript.
If you’ve elected to skip the course for whatever reason, you can find the full project here.
Getting More Advanced
Now that you’ve mastered HTML, CSS, and JavaScript, you (in theory) are ready to build anything you could ever dream of. Doing so might be difficult for certain tasks and projects, however, hence the existence of packages, frameworks, and components. Knowing these might (again, in theory), be unnecessary, but they’ll make large-scale projects multiple orders of magnitude more approachable, and honestly make the process of creating these platforms much more enjoyable.
NPM
The heart of advanced development tools is NPM, which stands for Node Package Manager. Don’t worry about what Node is for now - just focus on installing it properly. If you’re on a Mac, I heavily recommend using Homebrew to manage your packages. Follow the instructions on the Homebrew Website to install homebrew. Afterward, you can install any package by simply running brew install <package_name> in your command line. To this end, run the following:
brew install npmbrew install npxbrew install reactbrew install node
Introducing React
We’re going to start by Introducing React.js. As promised, React is a JavaScript framework created by Meta and focuses on making front-end engineering much easier. React uses the model of state and components to operate. Don’t worry if you don’t know what that means - that’s why you’d take a look at another course by Frontend Masters, Complete Intro to React, v8. Don’t worry if the course is a bit confusing - React has a very steep learning curve, but after a few projects you’ll get the hang of it and become an expert in no time.
Before you start on projects, I quickly want to introduce the concept of boilerplate. Boilerplate simply means starter code that works well for a variety of applications. React has a boilerplate program called Create React App (CRA for short) that’s used very commonly. Run the following command in your terminal to create a boilerplate react project titled my-app. npx i create-react-app my-app. More generally, you can run npx i create-react-app <project-name> to create a project with the name you want.
Running this command will create a folder with your project title as the name. In this folder, which is called the root directory, there will be several subfolders. The most important one is src, as this will hold most of your code. If you want to change the meta aspects of your website (website title, favicon, etc…), that stuff is in the public folder. package.json is the last important file, as it contains a list of packages that your project depends on (aptly, these are called dependencies), alongside some basic information about your project. Take a look over the files and contents of these 3 locations to gain some familiarity with where things are. You may not understand everything going on, but you will soon.
Finally, run npm start in the root directory of your project. A localhost should open up in your browser with whatever boilerplate code Create React App has given you.
Now that you’ve set yourself up, go through the aforementioned React Course and try to figure out what’s going on each step of the way, before moving on to the below projects.
Relevant Full-Stack DeCal Readings:
- React 1: Intro to React, Props, and State
- React 1: Example
- React 2: More Hooks, Axios, and Routing
- React 3: Styling and Libraries/Global State/Deployment
Project 3: Tic-Tac-Toe
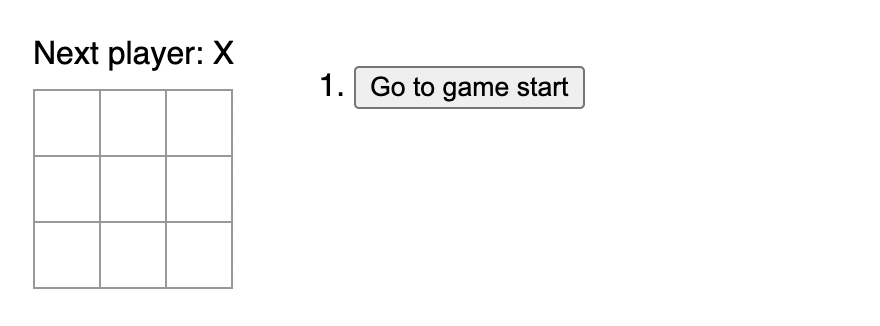
This one is a classic. Follow the tutorial on The Official React Website to go through and create a fully functional tic-tac-toe game from scratch, in React. Try to understand what’s going on each step of the way, and then try to reproduce the entire thing from memory, without help. This might be difficult at first so it’s fine to look at the tutorial as a reference, but ideally, try to go through the entire exercise until the steps and code are burned into your memory. React has a steep learning curve and the jump from vanilla JS to React is much more difficult than most people would expect, an aspect that makes rote memorization of this project an advantage when moving onto more ambiguous uses of React. This tic-tac-toe implementation covers most of the important aspects that differentiate React from vanilla JS, making it an essential first start into furthering your frontend development skills.
Project 4: Static Website, Again
We said that React was a front-end framework, right? Go back to the static site you made for your first project (or make a new one, even better!) and recreate (or create) it in React. This time, try to create a website with multiple pages (this demonstrates the utility of React much better than a single-page website). Try to use components - Make a component for Buttons, a component for the navbar, a component for titles, etc… Try to turn any major part of your website into a component.
What’s the utility of this? Let’s say you want to change the navbar of your website. In a pure HTML/CSS/Javascript regime, you would have to go through the HTML file for every page and adjust the navbar. Using React, you can make one change to the singular Navbar component file, and voila! It changes everywhere. The same thing applies to styling - if you want to change the color scheme, button style, or header style, all it takes is a change to one file instead of many.
Aside: File Structure
When you create a react project, you might run into the issue of all your components, themes, pages, and logic files becoming a big mess. A common paradigm is to have the following folders inside of your src directory:
components: Keep your components here. Make sure to label them appropriately, such asButton.js,Navbar.js, etc. Component names are typically capitalized.pages: this is where you keep your higher level pages (About.js,Team.js). Page names are also typically capitalized. As a general rule of thumb, try to keep your page files simple, and move as much JSX code as possible into components.theme: If you’re using a component library or global themes, having a separate folder for these is typically a good idea.assets: for storing pictures and other website assetsdata: For storing any useful data such as lists, objects, etc. that are used in your website and lend themselves to repetitive iteration or commonly done changes.
Project 5: Social Media Platform
In our final React project, we’re going to dive into building a full-fledged social media website, much like Instagram. You’ll start by setting up a database of posts—don’t worry, a simple JavaScript file with an array will do for now since we’re still honing our frontend skills! Your task is to display these posts in a scrollable interface and enable user interactions like liking and commenting on posts. We’ll also spice things up with some basic profile pages. Because this is supposed to be a larger project,
I’m not going to link any tutorials - rather, you should try to make the design choices yourself and learn what works and what doesn’t by experiencing it yourself. If you get stuck, make liberal use of Google and Stack Overflow, as they’ll continue to be your best friends on the job. Searching is a skill, and the sooner you get started, the better you’ll be later on. On the other hand, don’t spend too much time being stuck on a problem instead of searching it up or asking for help. In general, if you’re stuck on a big for over 30 minutes, it might be time to look outwards.
If you’re up for a bit more of a challenge, try adding features that allow users to create new posts and update their profiles. This project is a bit of a step up, bringing together essential concepts like routing (I highly recommend React Router for this) and interactivity with text inputs and stateful buttons.
Don’t forget to apply the tips and tricks from our previous projects. Make liberal use of Components and for loops to iterate over your data, steering clear of hardcoded elements. Also, consider using a UI library—I’m a fan of Chakra UI, but Mantine has also been recommended. Implementing a theming system with these libraries might seem daunting at first, but it’s well worth the effort.
The Backend
Switching gears, we’re going to move from focusing on frontend logic to talking about the backend of a typical application. Before we start, however, let’s figure out what exactly the backend refers to.
The backend of an application, often referred to as the server-side, is the part of an app that runs on a server. An app’s backend is responsible for managing your app’s data via a database, handling logic through the form of an API, and much more (though these two use cases are what we’ll be focusing on in this post). Let’s use our social media project as an example. We need to store all the data we use, such as posts and user data, somewhere that’s not a JavaScript file - this is where a database comes in. Additionally, you need to have a way for the frontend to interact with the database to get user info or post info when you click on something on the frontend - this is where an API would come in.
Common Backend Frameworks
Just like frontend frameworks, there are many options for backend languages when developing a full-stack application. For this post, we’ll be focusing on Node.js, but it’s worth mentioning the others for awareness. For Python, frameworks like Django and Flask are widely used. For Java development, Spring Boot is a widely used choice. However, for JavaScript, Node.js is the go-to option, and what we’ll be using.
Node.js

Node.JS, a popular JavaScript framework for backend development
Node.js is what we’ll be using for our server-side and API layers. Node.js, as the name implies, is a JavaScript framework typically used alongside React.js. To learn Node.js, I recommend taking a look at Introduction to Node.js and Digging Into Node.js on Frontend Masters. There’s a lot of content here on the basics of JavaScript, which, if you feel comfortable with, you can skip to focus on the parts more relevant to learning Node.js specifically.
Relevant Full-Stack DeCal Readings:
Project 6: To-Do List API
A hallmark of personal projects on self-learning journeys, we’re going to create an API for a to-do list. But first, what is an API? Watch RESTful APIs in 100 Seconds and What Is REST API? to find out. Next, go through the course API Design in Node.js to get a sense of how APIs work in Node.
Now that you’ve gotten a rough sense of what APIs are, follow along with this tutorial on Building A RESTful API With Node.js And Express.js to build one out. To fully understand what you’re doing, you’ll need to install Postman. Don’t worry about what Postman is for now - it will become clear as you go through the tutorial. Through the tutorial, you’ll also learn about Express.js, a framework for building APIs with Node, which is exactly what we want!
After completing this tutorial (part 1 of a 3-part series, but the other 2 parts aren’t needed), make sure you understand exactly what is happening in your code, which means understanding the purpose of every line. Next, complete a couple of exercises. Go through your code, and refactor every function, ideally without referencing the tutorial. Afterward, delete your entire codebase and rewrite it from scratch. Again, try to reference the source material as little as possible. Just like anything else, repetition is key to being able to understand how to create an API and what they do. Once you can create a fully-fledged API with minimal reference, you’re good to go.
Databases
Up until now, we’ve been putting our data into a raw JavaScript file. The problem with this is that the data isn’t persistent - If we close our server or it restarts, our database reverts to what was originally in the JavaScript file and forgets whatever you added to it. One workaround would be to write to this file after each call to our API, entirely overwriting the file with the updated database each time. While this may work for small personal projects and testing purposes, this isn’t scalable. Thus, this is where a database comes into play.
A database is pretty much exactly what it sounds like - it stores your data in a way that persists across you turning your server on and off. There are generally 2 types of databases, SQL (Structured Query Language) and noSQL (not Structured Query Language). You can watch SQL vs. NoSQL Explained to get the gist of the differences between the 2. I’d also recommend watching SQL Explained in 100 Seconds to get a better understanding of SQL.
Typically, when creating a personal project, you would use MySQL if you decide to go with a SQL database or MongoDB if you go with a NoSQL database. Typically, a NoSQL database is well-suited for beginners due to ease of setup and convenience for smaller projects, so that’s what we’ll focus on. To get started, go through the course Introduction to MongoDB on Frontend Masters to get started with using MongoDB before moving on to our penultimate project.
Relevant Full-Stack DeCal Readings:
Going Full Stack
Before moving forward, let’s take a step back and understand what’s going on with our terminal, our computer, and our filesystem. The resource I cannot recommend enough to do this with is the Full Stack for Front-End Engineers course on Frontend Masters. This course does an incredible job of going over essential concepts that, while often overlooked, will undoubtedly make you a better engineer.
Project 7: Full-Stack Social Media Platform

For our final project, we’re going to take the social media platform frontend you built out earlier and turn it into a fully built-out app with a database, a backend, middleware, and a frontend, following the MERN stack to put it all together. You should already have a frontend ready (if not, you can go back to the section covering the first part of this project to get a sense of the spec), so all that’s left is creating the database, the API, and then connecting your frontend to the API.
Similarly to the first social media platform we built, I’m not going to include any tutorials or walkthroughs for this project. Building ideas without guidelines and making your own design decisions are extremely important skills for developers, and an over-reliance on tutorials or reference implementations can lead to a rude awakening on a real-world project. Remember that the internet is every developer’s best friend and that learning to look for the right thing when dealing with an issue is a key skill.
The first step will be creating a database. While most social media apps use SQL databases since most of the data from the app is pretty structured, we’re going to use a MongoDB NoSQL database for ease of use, since NoSQL databases tend to be easier to use for beginners. Take some time to figure out your schema and initialize a MongoDB database to use in our app.
1. Posts
Posts contain a few things. If you’re making an image-based social media app like Instagram, you would want your post object to contain an image field, a caption field, an author field (this should be a User object), and a comments field (most likely an array of Comment objects). If you want to make something more like Twitter, you would probably get rid of the image field. You might also want to add a likes field to capture the number of likes a post has received.
An interesting extension would be taking the Post object and adding relevant metadata, such as the time posted, location posted, or anything else interesting you might be able to think of.
2. Comments
Next, we want to create a Comments object. This should be relatively similar to the Post object, containing a text field and an author field. Similarly to the Post object, you can add data such as likes, time, and location if you want an extra challenge.
3. Users
Finally, for our basic social media app, we need user profiles, and these can be defined in our User object. For a relatively simple app, all that a User object needs is a username, and if you want, a list of associated Post objects alongside a list of associated Comment objects. You can go above and beyond here as well, adding the option for a Profile Photo, bio, and displaying relevant posts on a user profile page.
The next step, which includes actually using the database, is creating an API. For this, let’s take what we learned in our To-Do List project and apply Express and Node.js to developing a framework that’s compatible with both our database setup and our frontend. Our API is going to need to support a couple of actions.
1. Posting
We need to have a POST endpoint to post (haha, get it) in our social media app. This endpoint should probably take a User instance, and all the post metadata we might want. We probably also want to initialize an empty array of comments for a new post.
2. Commenting
This POST endpoint should take in a user and an associated Post instance in addition to the standard required fields for a comment. We should make sure to add this comment to the comments field of the relevant post so that we can properly display all the data we have on the frontend.
3. Reading from the Database
Finally, we need to display the posts in our database to the users on the frontend. We would want to pull all the Post instances up (this should subsequently include references to all the relevant Comment objects) and send them to the frontend in a nice, usable format.
4. [Optional] Editing
If you’re feeling ambitious, we can add some PUT endpoints for editing posts and comments. This would also require some changes to the frontend, such as adding a functional edit button that would allow users to edit their posts and resubmit them to the backend for processing and updating what already existed in the database.
Once you’ve coded these up using Express and Node.js, make sure to test your endpoints using Postman. Try different edge cases and adjust your API to avoid actions or inputs that might break your backend.
Finally, let’s move on to the last phase of the project - connecting your API to the frontend. There are a couple of options to do so, but for now, we’ll use axios as one of the fastest ways to get an API integrated into your frontend. As an exercise in reading npm package documentation (you will be doing this a lot as a full-stack developer), try to integrate the API calls into your React code by yourself. Make sure to properly use the useState hook to ensure eventual consistency with initial calls to your database on page loads. If you need some help, here’s one example of using axios in React to call an API, and there are many more on the internet if needed as well.
Wrapping Up
Good job! We’ve gone through a lot of content - covering the fundamentals of HTML, CSS, and JavaScript, moving onto the fraught land of frontend development with a focus on React.js, and surveying the vast options available to us for various components of the backend, including databases, servers, APIs, and more. This is a lot of content to devour, especially given the difficult and technical nature of what we’ve covered, so make sure to pat yourself on the back if you’ve made it this far. Just remember that in order to learn anything related to programming properly, practice and actually programming things yourself is paramount and irreplaceable as part of the learning process. Make sure to go back and complete any projects you’ve skipped, look over your earlier projects and rewrite them better than before using your learning, and make sure to use best practices to put yourself in the best position possible. You now have a complete portfolio spanning all facets of full-stack development, congrats!
More Resources
We’ve covered the fundamentals of Full-Stack development and the core frameworks for building an application, but as with any technical field, there’s so much more to learn. Here are some resources I recommend looking at if you want to dive deeper into a specific area of full-stack development.
Frontend Resources
The next logical step in becoming a frontend developer is to gain familiarity with more frameworks, especially those that are popular or multifaceted.
Next.JS
Next.js, a React framework, is essential to learn for its server-side rendering and static site generation capabilities, which boost web performance and SEO, and its streamlined development features like automatic routing and API routes, enhancing both the user and developer experience. You can find a course on Next.js here.
React Native
React Native is a powerful framework for building native mobile apps using JavaScript and React, offering cross-platform compatibility, a live reloading feature, and a vast ecosystem of libraries, making it a valuable skill for developers in the mobile app development domain. You can find a course on React Native here.
Electron
Electron is a framework for creating desktop applications with web technologies like JavaScript, HTML, and CSS, offering cross-platform compatibility and access to native features, making it a go-to choice for developers aiming to build and maintain versatile desktop applications with web-based skills. You can find a course on Electron here.
Svelte
Svelte is an innovative JavaScript framework for building faster web applications with less code, featuring a unique compile-time approach to convert app components into highly optimized JavaScript, making it an appealing choice for developers prioritizing performance and ease of use. You can find a course on Svelte here.
Backend Resources
If you want to dive deeper into the world of backend logic, infrastructure, and programming tooling, there are a lot more directions and a lot more choices to make than counterparts choosing to specialize in frontend development. You can learn general-purpose languages, frameworks, cloud platforms, and databases, and specialize in more abstract concepts like performance, scalability, and systems, amongst many more.
Django
Django is a high-level Python web framework that encourages rapid development and clean, pragmatic design, offering robust features like an Object-Relational Mapping (ORM) system, a powerful admin interface, and built-in security measures, making it ideal for developers building scalable and maintainable web applications.
Typescript
Typescript is a superset of JavaScript that adds static types, enhancing code quality and maintainability, and is transpiled to JavaScript, providing the benefits of strong typing and advanced tooling, making it valuable for developers aiming for robust, scalable, and error-resistant web applications. You can find a course on Typescript here.
GraphQL
GraphQL is an open-source data query and manipulation language for APIs, and a runtime for fulfilling queries with existing data, enabling clients to request exactly what they need and nothing more, thus optimizing data retrieval and efficiency in web applications.
AWS
AWS (Amazon Web Services) is a comprehensive and widely adopted cloud platform, offering over 200 fully featured services from data centers globally, including computing power, storage options, and networking capabilities, crucial for developers to build scalable, flexible, and cost-effective solutions.
UI/UX Resources
An integral part of product development is the proper treatment of UI/UX, which stands for User Interface/User eXperience. UI pertains to everything the user sees and interacts with on the frontend, and UX is all about the experience of using a frontend, where components and information are laid out, and is a much broader term as a whole. Specializing in UI/UX means focusing on design and interaction, and is more software-heavy than programming-heavy as a role.
Relevant Full-Stack DeCal Readings:
Figma
Figma is a cloud-based design tool that facilitates interface design and prototyping with real-time collaboration, making it a popular choice among UI/UX designers, developers, and teams for creating and iterating on web and mobile app designs efficiently.
Adobe XD
Adobe XD is a vector-based design tool similar to Figma but differs in its integration with Adobe Creative Cloud, offering unique features like auto-animate for micro-interactions, voice prototyping, and stronger performance with complex designs, though it lacks Figma’s extensive real-time collaboration capabilities.